
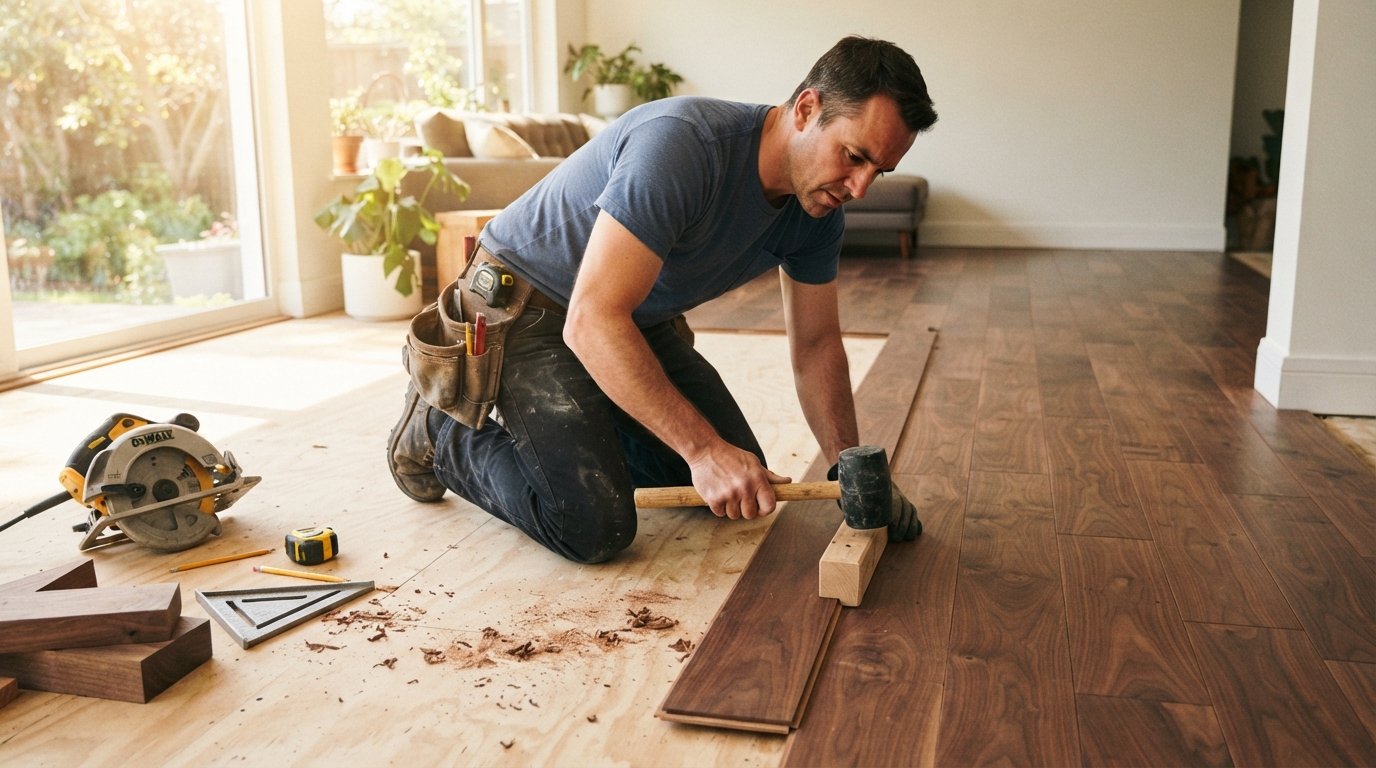
Hardwood Flooring Installation: Pro Secrets for a Flawless Result
Master hardwood flooring installation with expert tips on choosing materials, prepping subfloors, and hiring the right pro for a flawless finish.

By Joshua Benson
Learn more about Floor Installation or Replacement for guides, costs, and what to expect.
Compare Floor Installation or Replacement Pros Near You

Enter your ZIP code to compare top-rated local professionals and request free quotes.
Hardwood flooring installation can transform the entire feel of a home, adding warmth, character, and lasting value. Yet for many homeowners, the process feels intimidating, with questions about materials, subfloor prep, and labor costs swirling from the very first planning session. The difference between a stunning, durable floor and a disappointing one often comes down to preparation and knowing exactly what to expect before the first plank is nailed down. This guide walks you through every critical stage, from choosing the right wood to hiring a professional who will deliver the craftsmanship your investment deserves.
Why Hardwood Floors Remain a Top Choice in 2026
Even with the rise of luxury vinyl and laminate alternatives, solid and engineered hardwood continue to dominate the market for good reason. A properly installed hardwood floor can last for decades, and many homes see a significant return on investment when it comes time to sell. Unlike carpet or softer flooring materials, hardwood does not trap dust, pollen, or pet dander, making it an excellent choice for households with allergies or asthma.
Beyond the health benefits, hardwood offers a timeless aesthetic that adapts to any design style. Whether you prefer the rich grain of red oak, the dramatic tones of walnut, or the rustic charm of hickory, the natural variation in each plank ensures no two floors are exactly alike. This uniqueness is something synthetic materials simply cannot replicate, and it is a primary reason why many homeowners consider hardwood flooring installation a worthwhile long-term investment.
Solid vs. Engineered: Which Hardwood Is Right for You?
Before you book any installation services, you must decide between solid hardwood and engineered hardwood. Solid hardwood is exactly what it sounds like: a single piece of wood milled from a tree. It can be sanded and refinished multiple times over its lifespan, which is a major advantage if you want the floor to last 50 years or more. However, solid wood expands and contracts significantly with changes in humidity, so it is generally not recommended for basements, ground-level concrete slabs, or rooms with high moisture levels.
Engineered hardwood, on the other hand, features a top layer of real wood veneer bonded to multiple layers of plywood or high-density fiberboard. This construction makes it more dimensionally stable, allowing installation in areas where solid wood would fail, such as over radiant heating systems or on concrete subfloors. While engineered floors can only be refinished once or twice depending on the veneer thickness, they offer excellent durability and a wider range of installation methods, including floating and glue-down techniques.
Your choice will directly impact the overall cost and the complexity of the project. For a detailed breakdown of material and labor expenses, consult our comprehensive 2026 flooring installation price guide, which compares both options side by side.
Pre-Installation: Critical Steps That Determine Success
The months leading up to installation day are just as important as the actual work. Hardwood is a natural product, and it needs time to acclimate to the environment where it will be installed. Most manufacturers recommend leaving the boxes of flooring in the room for at least 72 hours, sometimes longer, so the wood can adjust to the temperature and humidity levels. Skipping this step can lead to gaps, cupping, or buckling within the first year.
You should also inspect your subfloor thoroughly. For nail-down installations over a plywood subfloor, the surface must be clean, dry, and free of any high spots or depressions greater than 3/16 of an inch within a 10-foot radius. If you are installing over concrete, you must check for moisture vapor emissions, often with a calcium chloride test. Excess moisture from the slab can ruin a brand-new hardwood floor, so this is not a step to overlook.
Acclimation and Moisture Testing
Professional installers will always bring a moisture meter to the job site. They test both the wood and the subfloor to ensure the moisture content is within the manufacturer's recommended range, typically within 2% for solid wood. This precision is why hiring an experienced contractor is so valuable; they have the tools and knowledge to catch potential problems before they become costly disasters.
If your home has a crawl space or unfinished basement, ensure it is properly ventilated and sealed. Ground moisture can migrate upward and affect your floor, so a vapor barrier is often required. Your installer can advise on the best approach for your specific situation, but do not be surprised if they recommend additional subfloor preparation, such as sanding high spots or filling low ones with a leveling compound.
The Installation Process: What to Expect from Start to Finish
Once the wood is acclimated and the subfloor is prepped, the actual installation can begin. The process varies depending on the type of hardwood and the method you have chosen, but a typical professional project follows a clear sequence. The installer will start by laying a moisture barrier or underlayment if required, then establish a straight reference line from the longest wall in the room. This ensures the rows of planks run perfectly parallel and the floor looks even throughout the space.
For nail-down installations, the contractor will use a flooring nailer to secure each plank to the subfloor, leaving a small expansion gap around the edges of the room to allow for natural movement. Glue-down installations are more common for engineered floors over concrete, while floating floors click together and rest on an underlayment without being attached to the subfloor. Each method has its own set of best practices, and a skilled installer will know which one to use for your specific product.
How Long Does Installation Take?
Most professional hardwood flooring installation projects take between 2 and 5 days for an average-sized room, depending on the complexity. Factors that affect the timeline include the room's shape, the number of doorways and transitions, the type of wood, and whether you are also having new trim and baseboards installed. A simple rectangular living room with minimal obstacles can be done in a day or two, while a large open-concept area with multiple angles and custom inlays will naturally take longer.
Do not rush the process. A quality installation is about precision, and cutting corners to save a few hours can lead to visible seams or uneven boards. When you request quotes through a service like ContractorHomeQuotes, you can compare timelines from different professionals and choose one who gives you a realistic schedule rather than a rushed promise.
Finishing Touches: Sanding, Staining, and Sealing
If you have chosen prefinished hardwood, the installation is essentially complete once the last plank is in place. The factory-applied finish is durable and consistent, and you can walk on the floor immediately. However, if you opted for unfinished hardwood, the final steps are where the magic happens. The installer will sand the entire floor with progressively finer grits of sandpaper, creating a perfectly smooth surface. This is followed by applying a stain if you want a specific color, and then multiple coats of polyurethane or a hardwax oil finish.
This process requires patience and skill. The sanding must be done evenly to avoid dips or swirl marks, and each coat of finish needs time to dry and cure. A typical sand-and-finish job adds 2 to 3 days to the project timeline. The result, however, is a custom floor with a seamless look and a finish that is completely tailored to your preferences, whether you want a matte, satin, or high-gloss sheen.
DIY vs. Professional Installation: A Realistic Comparison
Many homeowners consider DIY hardwood flooring installation to save money, and for a small, straightforward room with a floating engineered floor, it can be a manageable weekend project. But for anything larger or more complex, the risks often outweigh the savings. A professional brings years of experience, specialized tools like pneumatic nailers and floor sanders, and the ability to troubleshoot unexpected subfloor issues. They also know how to handle tricky transitions, doorjambs, and stair nosing, which are common trouble spots for amateurs.
Another critical factor is warranty. Most hardwood manufacturers require professional installation to validate their warranty. If you install the floor yourself, you may void the coverage, leaving you unprotected if the wood defects appear later. Additionally, a poorly installed floor can be a safety hazard, with loose boards or protruding nails that cause trips and falls.
When DIY Makes Sense
If you have experience with woodworking, access to the right tools, and a room that is under 200 square feet with no complex angles, a floating engineered floor could be a rewarding DIY project. You can save 30% to 50% on labor costs. However, you must be disciplined about acclimation, subfloor prep, and following the manufacturer's instructions to the letter. For most homeowners, though, the peace of mind that comes with a professional installation is worth the extra cost.
Hiring a Professional: How to Choose the Right Contractor
Selecting the right installer is arguably the most important decision you will make. The quality of the materials is important, but a skilled contractor can make even a budget-friendly wood look like a high-end showcase, while a poor installer can ruin the most expensive hardwood on the market. Start by researching local companies, reading reviews, and asking for references. Do not hesitate to ask for proof of licensing and insurance; this protects you if an accident happens on your property.
When you receive bids, compare them carefully. A significantly lower quote may indicate the use of inferior materials, rushed labor, or a lack of proper insurance. Conversely, the most expensive bid is not always the best. Look for a contractor who communicates clearly, provides a detailed written estimate, and explains their installation process, including how they handle subfloor preparation and transitions. Our guide on flooring installation for homeowners offers deeper insights into what to look for in a contract.
Cost Breakdown: Budgeting for Your New Floor
Hardwood flooring installation costs can vary widely, but you can expect to pay between $6 and $15 per square foot for materials, with labor adding another $4 to $8 per square foot. Premium woods like Brazilian cherry or engineered European oak will push the material cost higher, while domestic oaks and hickory are generally more affordable. The total for a 500-square-foot living area might range from $5,000 to $12,000, depending on your choices and your region.
To avoid surprise bills, ask for a line-item estimate that includes the cost of the wood, underlayment, adhesives or fasteners, transition strips, baseboard removal and reinstallation, and any subfloor repairs. Also, ask about disposal fees for old flooring. A reputable contractor will provide a transparent breakdown. For a more detailed look at regional pricing trends, our flooring estimate request guide can help you understand how to get accurate bids.
Aftercare and Maintenance: Protecting Your Investment
Once your new floor is installed, proper care ensures it stays beautiful for years. Use felt pads under furniture legs, place doormats at entrances to catch grit, and avoid walking on the floor with high heels or cleats. Sweep or vacuum regularly to remove abrasive particles, and clean spills immediately with a slightly damp cloth. Avoid using steam mops or excessive water, as moisture can damage the wood and the finish.
Depending on the finish, you may need to apply a fresh coat of polyurethane every 5 to 10 years, especially in high-traffic areas. Solid hardwood can be sanded and refinished every 20 to 25 years, effectively giving you a brand-new floor. Engineered hardwood has a shorter lifespan, but with proper care, it can still last 20 to 30 years. Regular maintenance is the key to maximizing the value of your hardwood flooring installation.
Planning a hardwood flooring installation is an exciting project that can enhance your home's beauty and value for decades. By understanding the materials, the installation process, and the importance of professional craftsmanship, you are already ahead of the game. Use the resources available on ContractorHomeQuotes to compare quotes, ask the right questions, and confidently choose a contractor who will deliver a floor you will love for years to come. Your dream floor is within reach, and with the right preparation, the journey can be as satisfying as the result.